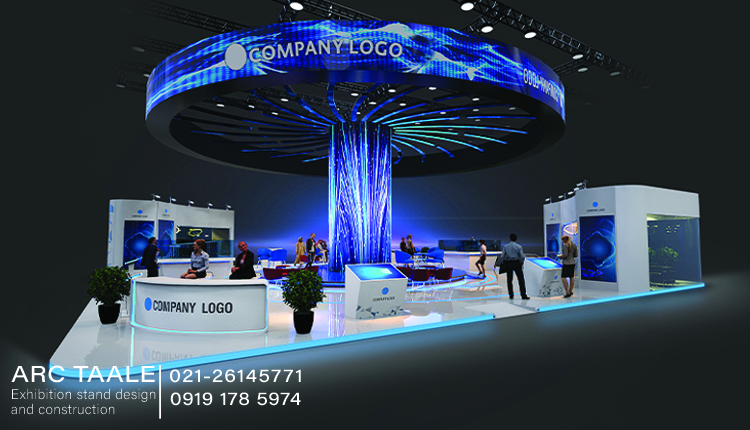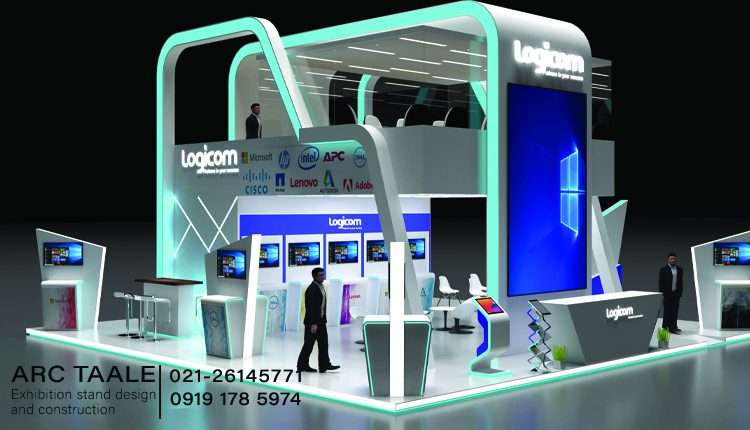
Pop-up stands are versatile, portable, and effective tools for showcasing your brand, products, or services at events, trade shows, or retail environments. Their ease of setup and eye-catching design make them a popular choice for businesses looking to make a memorable impression on-the-go. In this article, we explore the step-by-step process of setting up a pop-up stand, offering valuable insights and tips to ensure your display stands out from the crowd and leaves a lasting impact.
Setting up a pop-up stand begins with careful planning and preparation. Start by selecting the right stand for your needs, considering factors such as size, shape, and design elements. Once you have your stand, follow these steps to set it up effectively:
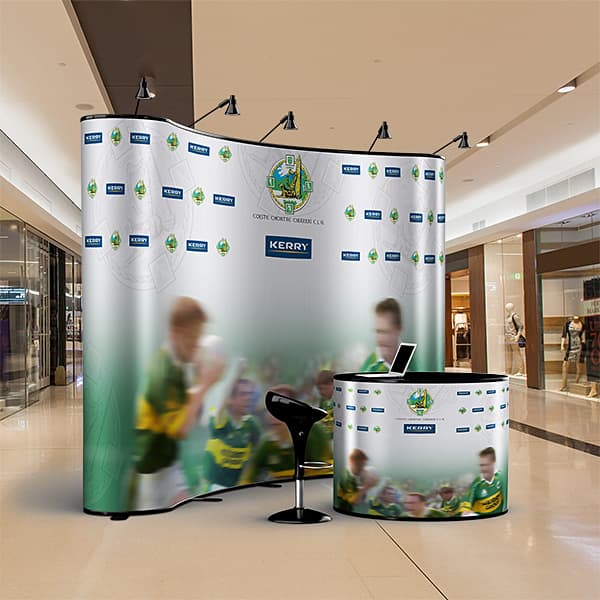
The frame of a pop-up stand is covered with graphics panels that display branding, imagery, text, or other visual content. These graphics panels are often made of durable materials such as fabric, vinyl, or laminated paper and are attached to the frame using magnetic strips or hook-and-loop fasteners for quick and easy installation.
read more
Pop-up stands come in various sizes, shapes, and configurations, ranging from single-sided banners to larger modular displays with multiple panels. They are designed to attract attention, communicate key messages, and enhance brand visibility in a compact and portable format.
Overall, pop-up stands are popular marketing tools due to their versatility, ease of setup, portability, and effectiveness in capturing the attention of audiences in diverse promotional settings.
How do you install a pop up stand?
Setting up a pop-up stand is a fantastic way to grab attention at events, trade shows, or presentations. These portable and versatile displays are easy to assemble, making them a popular choice for businesses and individuals looking to make a lasting impression. In this comprehensive guide, we’ll walk you through the step-by-step process of installing a pop-up stand.
Unboxing the Essentials
Start by carefully unboxing your pop-up stand. Lay out all the components and take a moment to familiarize yourself with the various parts, including the frame, graphic panels, magnetic bars, and connectors.
Frame Assembly
Begin the installation process by assembling the frame. Most pop-up stands come with a collapsible, accordion-style frame that easily expands into a sturdy structure. Follow the manufacturer’s instructions to ensure proper assembly, connecting each frame segment securely.
Connecting Magnetic Bars
Attach the magnetic bars to the frame. These bars play a crucial role in holding the graphic panels in place. Ensure they are correctly aligned and securely attached to the frame, creating a stable foundation for the display.
Attaching Graphic Panels
Carefully affix the graphic panels to the frame, starting from one end and working your way across. Most pop-up stands utilize a hook-and-loop system or magnetic strips to secure the panels in place. Smooth out any wrinkles or creases for a professional look.
Aligning Graphics for Seamless Display
Achieve a seamless appearance by aligning the graphics precisely. Take the time to ensure that images and text flow smoothly across adjacent panels, creating a visually cohesive display.
Adding Accessories
Enhance your pop-up stand with accessories like shelves, lights, or brochure holders. Many pop-up stands have built-in attachment points for these accessories, allowing you to customize your display to meet specific needs.
Testing Stability
Before showcasing your pop-up stand to the world, test its stability. Gently shake the display to ensure all components are securely in place. Making any necessary adjustments now will prevent issues during your event.
Final Touches
Stand back and admire your work. Make any final adjustments to ensure your pop-up stand looks polished and professional. Double-check the placement of graphics, accessories, and overall alignment.
Installing a pop-up stand is a straightforward process that can significantly elevate your visual presence at events. By following these steps and paying attention to detail, you’ll create an eye-catching display that effectively communicates your message and attracts the attention your brand deserves.
How do you assemble a pop up stand?
Pop-up display stands have revolutionized the way businesses showcase their products and services at events, trade shows, and exhibitions. These portable and versatile stands offer a quick and efficient way to create impactful displays that capture attention and leave a lasting impression. In this article, we’ll walk you through the step-by-step process of assembling a pop-up display stand, providing valuable insights and tips to help you streamline the setup process and achieve stunning results.
Assembling a pop-up display stand may seem daunting at first, but with the right approach and preparation, it can be a straightforward and hassle-free task. Here’s a guide to help you navigate the assembly process:
Unboxing the Potential
Welcome to the world of versatile and eye-catching displays! As you unbox your pop-up stand, you’re unlocking a realm of possibilities for showcasing your brand or message. Prepare to transform any space into a visual spectacle.
Lay the Foundation
Start by clearing a designated area for assembly. Lay out all components systematically, ensuring that each piece is easily accessible. The foundation of a seamless pop-up experience lies in a well-organized setup.
Frame It Right
Connect the frame pieces following the manufacturer’s instructions. Most pop-up stands utilize a collapsible frame design for easy assembly. Click, snap, or slide the frame sections together until you form a sturdy structure. This is the backbone of your display.
Panel Placement Precision
Attach the graphic panels to the frame, aligning them meticulously for a professional finish. The panels are like the canvas for your message, and precision in placement enhances the overall aesthetic appeal.
Magnetic Magic
If your pop-up stand features magnetic connectors, revel in the simplicity of snapping the panels onto the frame effortlessly. Magnets ensure a secure and seamless fit, elevating the visual impact of your display.
Lights, Camera, Action!
Illuminate your message by attaching the lights provided with your pop-up stand. Proper lighting not only highlights your display but also captivates the audience’s attention. Shine a spotlight on your brand!
Stabilize for Success
Secure the stability of your pop-up stand by adjusting the feet or base accordingly. Ensuring a level and secure setup prevents any wobbling, guaranteeing a polished and professional appearance.
Fine-Tune the Details
Inspect your assembled pop-up stand, paying attention to details like panel alignment and overall symmetry. This meticulous approach ensures that your display stands out for all the right reasons.
Ready for the Spotlight
Congratulations! Your pop-up stand is now ready for the spotlight. Whether it’s a trade show, exhibition, or any promotional event, your visually captivating display is set to leave a lasting impression.
Dismantle with Ease
As the event concludes, dismantle your pop-up stand with the same care you used during assembly. Most pop-ups are designed for effortless disassembly, making them convenient for transport and storage until your next grand showcase.
In conclusion, assembling a pop-up stand is an art that combines precision, creativity, and functionality. With each step, you craft a stage for your brand to shine, leaving a lasting impact on your audience.